Science Experiments with Kitchen Items: A playful intro
If you can tolerate sticky countertops for an hour, your kitchen is a treasure trove of science. Science Experiments with Kitchen Items are perfect for curious kids: they’re cheap, safe, and deliver big ‘wow’ moments without a microscope or a PhD.
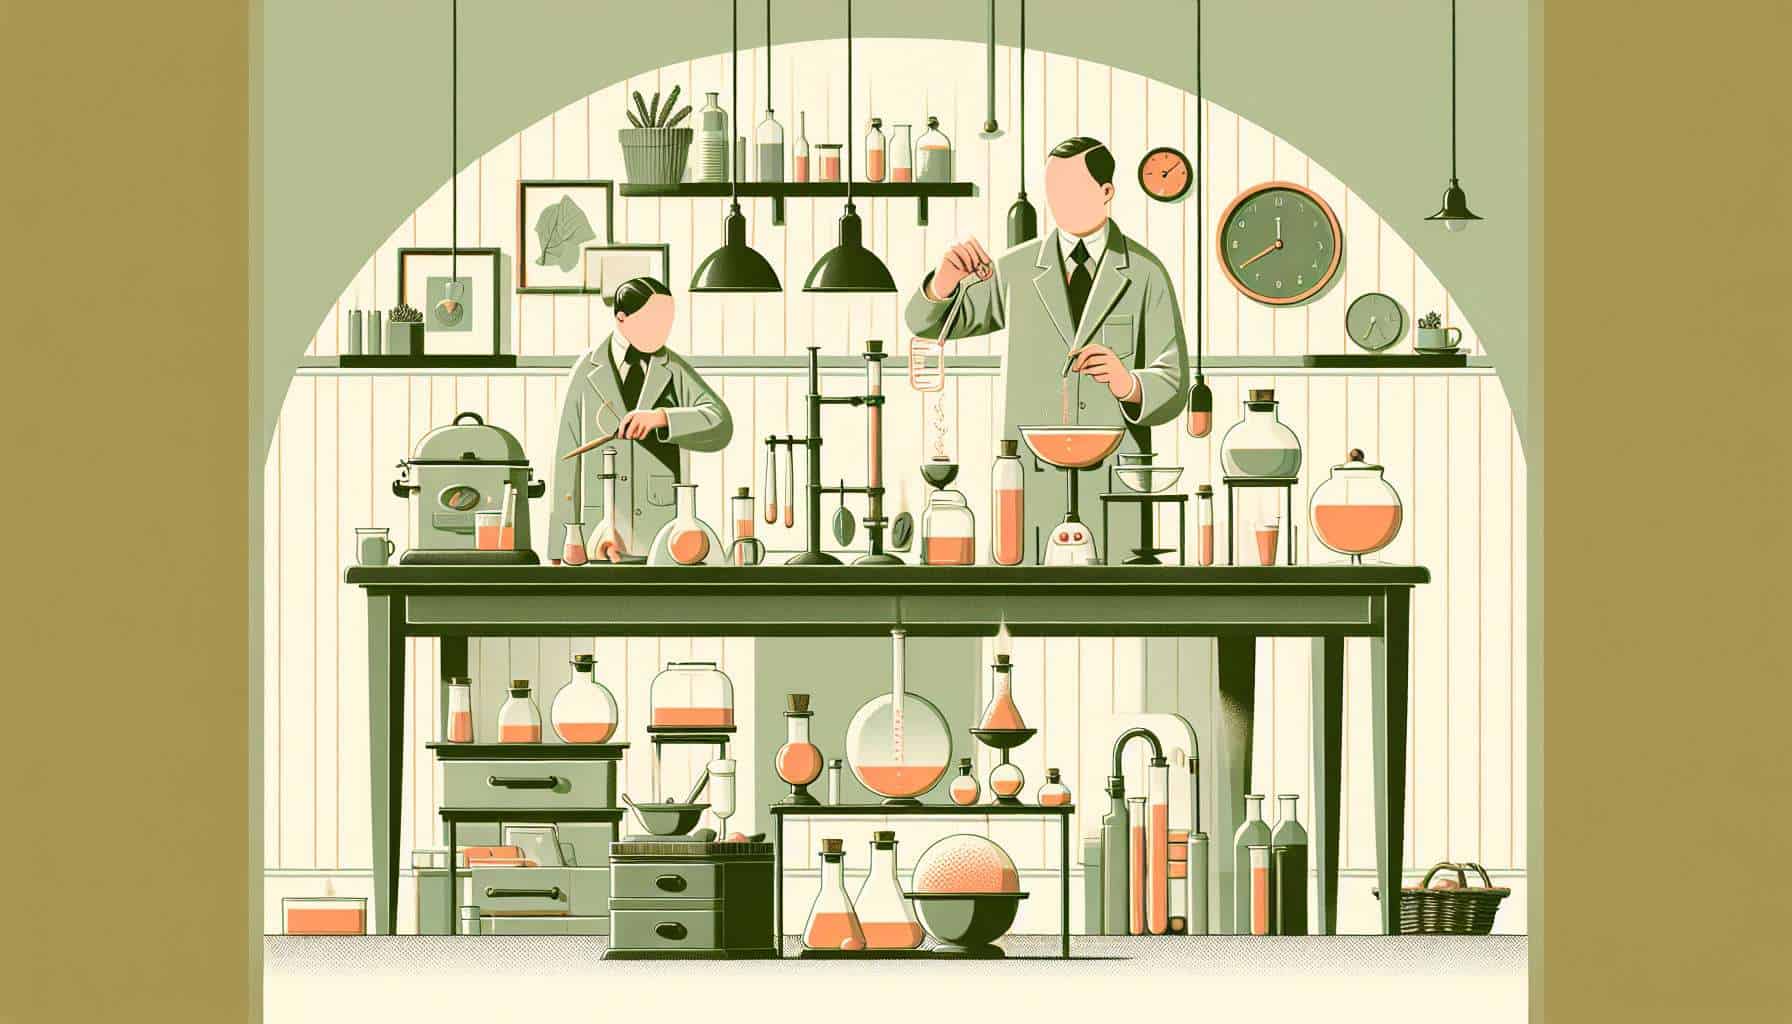
Confession: sometimes we skip the ‘perfect’ AI images and just can’t resist picking the most awkward ones. Hopefully they bring a smile to your face too!
Think of this as permission to mix, fizz, float, and occasionally make a glittery mess while your child learns about chemistry, physics, and the art of asking, “What if…”
- This guide covers safe supplies and setup for kitchen science.
- Step-by-step instructions for 12 experiments using household items.
- Teaching tips, variations, and cleanup advice so parents stay sane.
Kitchen safety and setup
Before you let the lab coats (read: aprons) come out, a quick safety checklist. These experiments use common pantry items, but safety and supervision are non-negotiable.
- Adult supervision is required for every experiment.
- Wear goggles if you have them; at minimum, keep splashes away from eyes.
- Work on a washable surface or put down trays and newspapers.
- Keep vinegar, baking soda, salt, oil, food coloring, cornstarch, and soap within reach.
- Teach kids to wash hands after experiments.
Gather simple tools: measuring spoons and cups, clear cups or jars, spoons, a baking tray, and a towel. Clear containers make the science easier to see, which is half the magic.
Quick supply list (most from your kitchen)
- Baking soda and vinegar
- Cornstarch, flour, and salt
- Vegetable oil and water
- Food coloring and dish soap
- Baking powder, sugar, lemons and raisins
- Alka-Seltzer or effervescent tablets (optional)
Easy experiments: step-by-step
Ready to do hands-on science? These experiments are grouped by concept: chemistry reactions, density and buoyancy, and materials science. Each experiment lists what you need, step-by-step instructions, what’s happening, and fun variations.
1) Fizzy Volcano (Chemical reaction)
What you need: small jar, baking soda (2–3 tbsp), vinegar (1/2 cup), dish soap (1 tsp), food coloring (optional).
Steps: Put baking soda in the jar. Add a few drops of food coloring and the dish soap. When ready, pour in the vinegar and stand back as foamy lava erupts.
Why it works: Vinegar (an acid) reacts with baking soda (a base) to produce carbon dioxide gas—those bubbles push the foam out in a dramatic way.
Variations: Use a narrow-necked bottle for a taller geyser, or add glitter for theatrical effect (expect glitter cleanup). Try different soap amounts to compare bubble amounts.
2) Magic Milk (Surface tension and chemistry)
What you need: shallow dish, whole milk, food coloring, dish soap, cotton swab.
Steps: Pour milk into the dish to cover the bottom. Place small drops of different food coloring near the center. Dip the cotton swab in dish soap, then touch the milk’s surface in the middle of the colors. Watch colors explode outward.
Why it works: The soap reduces surface tension and interacts with the milk’s fats, causing movement that drags the dye along—it’s beautiful chaos.
3) Oobleck: Solid-ish Liquid (Non-Newtonian fluid)
What you need: cornstarch and water (2:1 by volume), bowl, optional food coloring.
Steps: Mix cornstarch and water in a bowl. Add coloring if you like. If you tap it quickly it feels hard; if you scoop slowly it flows. Invite kids to punch, squeeze, and let it ooze back into the bowl.
Why it works: Oobleck is a non-Newtonian fluid—its viscosity changes under stress. Great tactile lesson about materials that don’t fit neatly into solid/liquid boxes.
4) Homemade Lava Lamp (Density and polarity)
What you need: clear bottle, water, vegetable oil, food coloring, Alka-Seltzer tablet or fizzing tablet.
Steps: Fill bottle half with oil, then add colored water to almost full. Drop in half an Alka-Seltzer tablet and watch colorful blobs rise and fall.
Why it works: Oil and water don’t mix (different polarities). Carbon dioxide bubbles from the tablet attach to water droplets, making them buoyant; when bubbles pop, droplets fall back down.
5) Dancing Raisins (Gas and buoyancy)
What you need: clear glass, club soda or sparkling water, a few raisins.
Steps: Drop raisins into the fizzy water and watch them bob up and down as bubbles attach and lift them.
Why it works: Carbon dioxide bubbles cling to the rough surface of the raisins, increasing buoyancy until the raisin floats to the top; then bubbles pop and it sinks.
6) Invisible Ink (Acids and oxidation)
What you need: lemon juice, cotton swab, paper, heat source (lamp or iron on low with adult supervision).
Steps: Dip the swab in lemon juice and write a message on the paper. Let dry. To reveal, warm the paper slowly and the message browns.
Why it works: Lemon juice oxidizes and turns brown when heated—simple chemistry with a spy-movie twist.
7) Balloon-Powered Rocket (Gas expansion)
What you need: balloon, straw, string, tape.
Steps: Thread the straw onto a taut string and tape the inflated balloon (don’t tie it) to the straw. Release and watch it zoom along the string.
Why it works: The escaping air creates thrust—an easy intro to Newton’s third law of motion.
Teaching tips and extensions
Turn each experiment into a mini-investigation. Have kids predict outcomes, observe closely, and explain what they saw in their own words. Questions make it science: “What if we change the amount of vinegar?” or “Does whole milk behave differently from skim?”
- Ask before you demo—kids are better scientists when they predict.
- Repeat the experiment with one variable changed to show cause and effect.
- Encourage drawings or a short video to document results.
Adapt difficulty by age: preschoolers focus on observation and sensation; older kids can measure, time, and graph results. For example, measure fizz height over repeated volcano trials to introduce data recording.
Cleanup, storage, and avoiding mess meltdowns
Cleaning up is part of the experiment—teach responsibility. Use trays, do experiments over the sink, and keep a wet cloth handy. Many materials wash away easily with warm water and dish soap; oobleck can go in the trash (don’t pour large amounts down the drain).
Store small kits in a labeled box: small jars, measuring spoons, a plastic dropper, a pair of goggles, and a simple instruction card for each experiment. Then pulling off a science afternoon becomes as easy as grabbing a snack.
More variations to keep the fun going
Once you’ve done the basics, layer in challenges: can kids make a volcano that erupts twice as high? Can they invent a new non-Newtonian recipe that’s colorful and less messy? Can siblings design a race of balloon rockets and time them?
Encourage creative presentation: a “lab notebook” drawn in a composition book, a short lab report with sketches, or a mini science fair at home where kids explain results to grandparents over video chat.
Final words (and moral support for parents)
Science Experiments with Kitchen Items are about fostering curiosity more than perfect results. Expect surprises, be ready to laugh, and celebrate the small discoveries. You’re not just making fizzy volcanoes—you’re encouraging a lifelong love of asking questions.
If a project fails, treat it as data. In fact, that’s a valuable lesson: real scientists learn from failed experiments—and so do great parents.