Why crafts using recycled materials are worth the mess
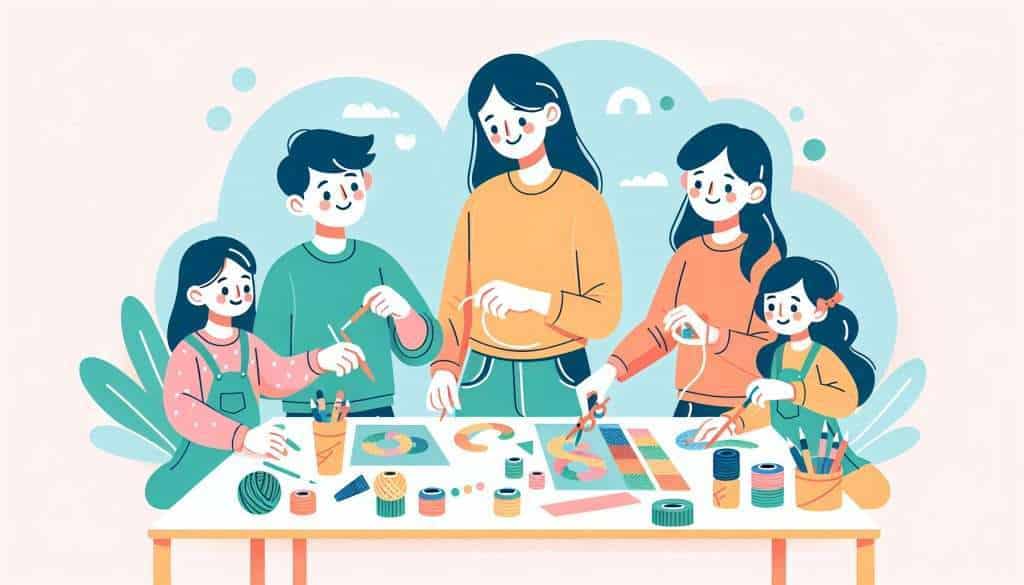
If your home currently resembles a small recycling center—pizza boxes, paper towel tubes, rogue yogurt lids—congratulations: you have raw material for art. Crafts using recycled materials are the low-cost, high-imagination way to get kids crafting, learning about the planet, and using fine motor skills without buying a single plastic kit.
Confession: sometimes we skip the ‘perfect’ AI images and just can’t resist picking the most awkward ones. Hopefully they bring a smile to your face too!
Yes, there will be glue. Yes, glitter may arrive. But the benefits are real: creativity, resilience, problem solving, and a sneaky lesson about reducing waste. And if you set a few ground rules, cleanup becomes less like a hostage negotiation and more like a five-minute tidy sprint.
- This guide covers: quick safety tips and what to collect
- Five kid-tested projects with step-by-step instructions
- Setup, storage, and cleanup hacks parents will love
- Ways to turn crafts using recycled materials into lessons
Getting started: what to collect and safety basics
Start with a small, curated stash. A wild pile of junk is inspiring until you discover last month’s mystery sticky thing. Keep a clear container or box labeled Craft Recycling and add only clean, dry items. Here are great staples:
- Cardboard boxes and cereal liners
- Paper towel and toilet-paper tubes
- Bottle caps, yogurt cups, and plastic tubs (rinsed)
- Scrap paper, magazine pages, and old greeting cards
- Fabric scraps, ribbon, and buttons
Safety first. For toddlers, pre-sort sharp items and small choking risks. Keep a kid-safe scissor set, quick-dry non-toxic glue, and a smock. For older kids, teach a few rules: scissors stay on the mat, hot glue is for grown-ups, and paint goes on paper, not the dog.
Five easy crafts using recycled materials
1. Cardboard city (ages 3+)
Turn boxes into a skyline. This project invites pattern play, storytelling, and endless remodeling. It scales for a single child or a neighborhood for an entire playdate.
- What you need: small boxes, masking tape, washable paint, markers, glue, and scraps for decoration
- Steps: flatten and cut building faces, tape boxes together for stability, paint base colors, add windows and signs with markers, glue on scrap cardboard for balconies
- Variation: make a transportation hub with toilet-paper-roll tunnels and a cardboard bridge
2. Bottle-cap magnets (ages 4+)
Quick, adorable, and perfect for gift-giving. Bottle-cap crafts using recycled materials are tiny trophies of cleverness and look great on the fridge.
- What you need: metal bottle caps, small magnets, glue, small photos or patterned paper, clear-drying resin or glossy Mod Podge
- Steps: cut images to fit, glue into cap, seal with gloss, attach magnet on back after dry
- Variation: use paint to create tiny animal faces instead of photos
3. Paper-tube binoculars and kaleidoscopes (ages 3+)
Two tubes, a little tape, and your kid’s imagination. Instant explorer kit that encourages outdoor play and observational skills.
- What you need: two paper towel tubes or toilet-paper rolls, tape, string, stickers, small bits of cellophane for kaleidoscopes
- Steps for binoculars: tape tubes together side-by-side, decorate, add a neck string; for kaleidoscope: tape cellophane inside, layer colors, seal ends
- Variation: add a cardboard lens hood with a cut-out shape for fun vignettes
4. Fabric scrap puppets (ages 2+)
Every sock that lost its match and every stained shirt sleeve lives to become a character. Puppet-making is low-stress and endlessly improvable.
- What you need: old socks or fabric scraps, buttons, felt, glue or needle and thread, yarn for hair
- Steps: stuff sock with scrap fill or cotton, sew or glue mouth and features, glue on hair and accessories
- Variation: create a family of puppets and perform a recycling-themed show
5. Collage creatures from paper and lids (ages 5+)
This is where magazine pages meet bottle lids and everyone becomes a new animal hybrid. Great for storytelling and fine-motor practice.
- What you need: scrap paper, magazine clippings, lids, glue, cardstock base
- Steps: arrange shapes into a creature, glue down, add details with markers, mount on cardstock for display
- Variation: make an alphabet of creatures, one for each letter
Setting up a kid-friendly craft station
A good setup halves the drama. Designate a small table or tray with easy-to-clean covering, a bin for tools, and labeled containers for sorted recycled goodies.
- Tool kit: blunt scissors, glue sticks, washable markers, paint set, wet wipes
- Storage: clear bins labeled with pictures for younger kids
- Work surface: an old cookie sheet keeps small bits contained
Rotate the materials weekly to keep things exciting. Put out a ‘material of the week’—maybe fabric scraps one week, cardboard the next—and watch new ideas show up.
Teaching sustainability through play
Crafts using recycled materials are a natural doorway to conversations about waste. Keep it simple and actionable: explain why you saved the yogurt cup, or talk about how the cardboard once protected food.
Turn it into a game. Ask kids to hunt for potential craft items at clean-up time, or challenge them to make something new from a single object. Those quiet moments of invention build both creativity and eco-awareness.
Troubleshooting and clever variations
If glue projects flop, try tape or clothespins as temporary hold. If paint fumes bother you, switch to watercolor or markers. Not every project will be frame-worthy; embrace the scrappy charm—some of the best crafts using recycled materials look proudly homemade.
Need to scale a craft for a party? Pre-cut pieces, station volunteers for glue, and have simple templates on hand. For school projects, pack flat materials in a labeled folder so the assembly can happen at school with minimal mess.
Final tips to keep the creativity flowing
Keep a tiny display wall for finished pieces. A rotating gallery validates effort, limits clutter, and encourages kids to think of projects as temporary masterpieces rather than permanent furniture additions.
Teach kids to sort scraps: compostable paper goes in one box, clean plastics in another, cherished bits in the Craft Recycling bin. It reinforces the value of materials and makes future projects faster to start.
And finally, be okay with imperfect. Crafts using recycled materials are more about the process than the product. If it breaks, upcycle it again. If it lasts, celebrate. Either way, you just taught a kid resilience and resourcefulness—and that is worth the glue under the table.
FAQs
What are safe materials for crafts using recycled materials with toddlers?
Choose clean, non-toxic items: cardboard, fabric scraps, large bottle caps, and paper. Avoid small choking hazards, sharp metal, and anything with adhesive residue. Use child-safe scissors and non-toxic glue. Pre-sort items so toddlers can craft without risky pieces.
How do I keep craft time with recycled materials from becoming a disaster zone?
Set up a defined station with a washable mat or cookie sheet, use bins for sorted materials, and offer a quick 5-minute tidy timer after each session. Limit materials on the table and rotate supplies weekly to reduce overwhelm.
Can ideas for crafts using recycled materials work for school projects or parties?
Absolutely. Choose projects with simple steps, pre-cut or pre-sorted materials, and clear templates. For parties, assign an adult or older kid to supervise glue and scissors, and provide clear display space for finished items.
How can I teach recycling lessons while doing crafts with recycled materials?
Use the craft as a conversation starter: ask where the material came from and what it used to be. Create challenges like using only one item to make something new, or sorting scraps into compost, recycle, and reuse bins. These small habits stick.