Why teach recycling with crafts?
You want your kid to care about the planet but the word “recycling” is either a buzzword or a bedtime lullaby. Crafts to teach recycling bridge that gap: they make sorting, reusing, and repurposing into a tactile, silly, memorable activity. Plus, craft time = quality time, and also slightly fewer plastic dinosaurs left under the couch.
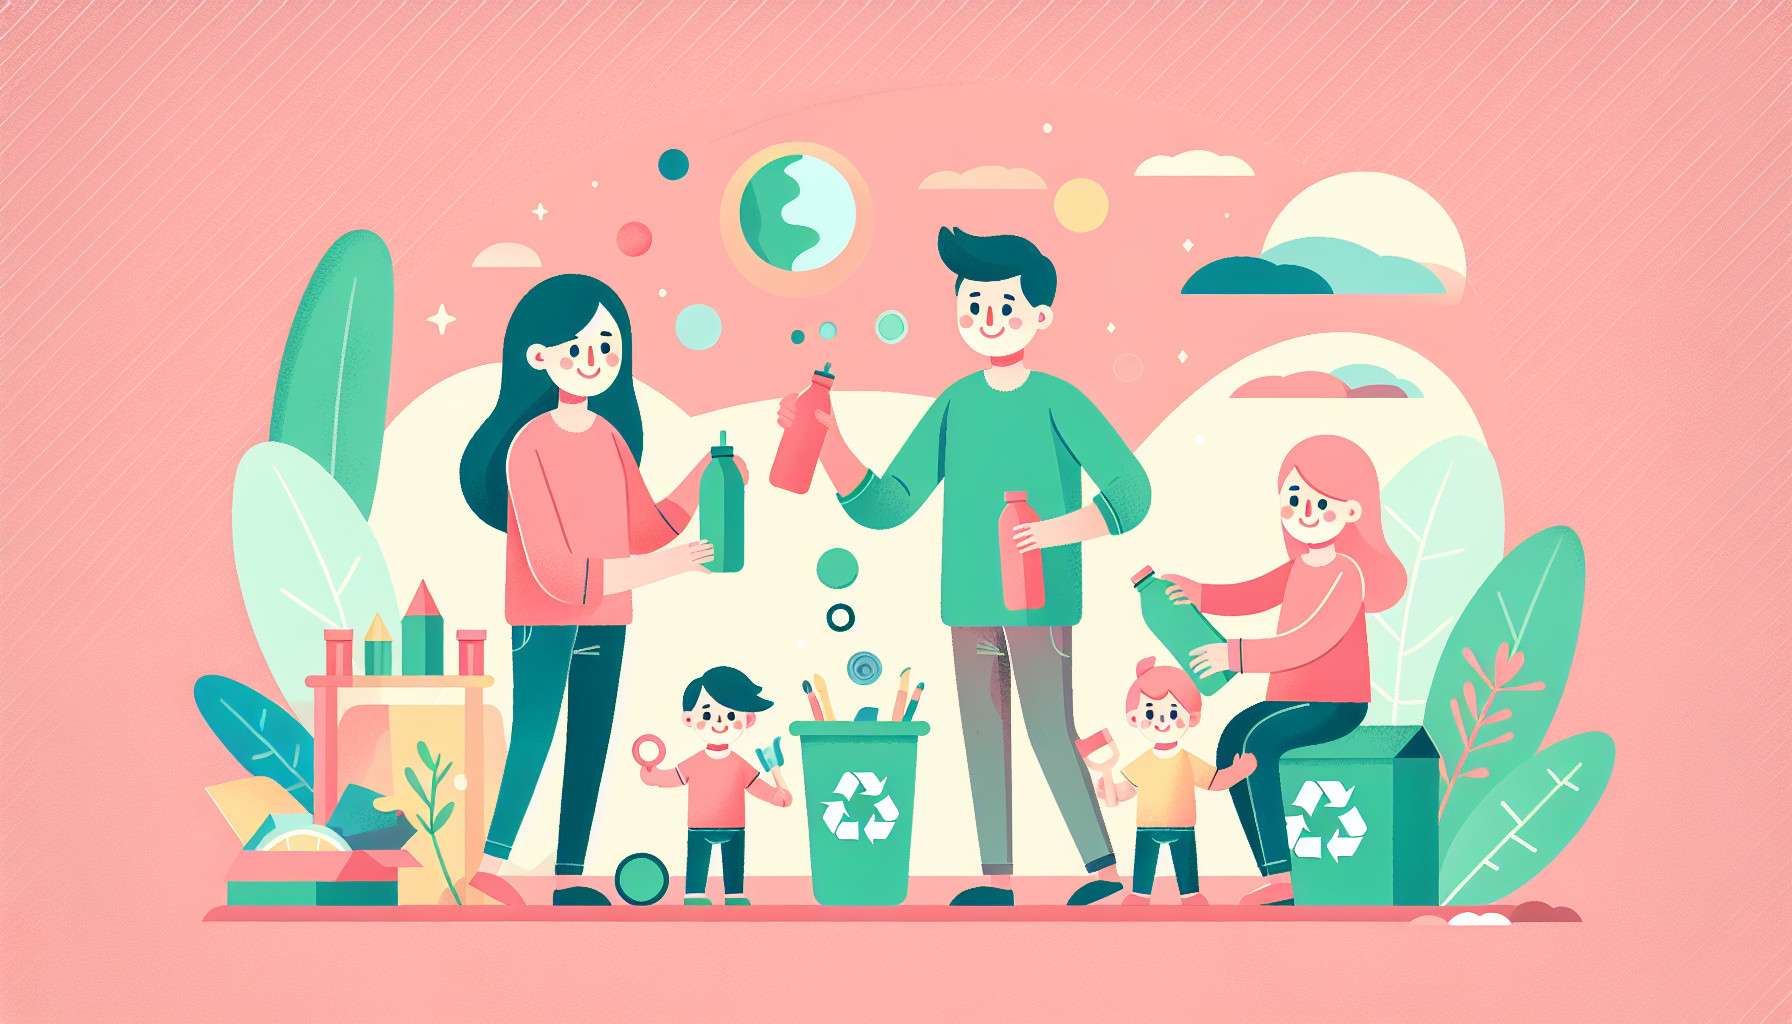
Confession: sometimes we skip the ‘perfect’ AI images and just can’t resist picking the most awkward ones. Hopefully they bring a smile to your face too!
Also try: South America Crafts for Kids: Fun, Colorful Projects
These projects are designed for short attention spans, small hands, and maximum learning. They’re flexible for ages 3–12, and scalable if you want to get wildly competitive about who can make the fanciest bottle-cap unicorn.
- This guide covers quick crafts, step-by-step instructions, and talking points to teach recycling.
- Simple materials, safety tips, and variations for different ages.
- Ways to display, gift, or reuse your creations so nothing ends up in the trash again.
How crafts teach recycling (and actually stick)
Kids learn by doing. When they cut up a cereal box to make a puppet theater, they notice: cardboard is useful, tape is magical, and that empty box just had a second life. Crafts make abstract ideas—reuse, reduce, recycle—concrete. They also create stories: the yogurt pot becomes a spaceship, and suddenly you have a reusable prop instead of another thing to bin.
Use craft time to introduce vocabulary gently: reusable, compostable, recycle. Short, positive lines work best. Example: “This bottle can be a planter now—reuse means giving it a new job.” No lectures. Just projects and curiosity.
Craft 1: Bottle Cap Mosaic — Tiny treasures, big impact
Materials
- Assorted plastic bottle caps (wash and dry)
- A flat piece of cardboard or a wooden board
- Strong glue (hot glue for older kids, tacky glue for younger)
- Paint or permanent markers for accents
- Optional: clear sealant spray
Steps
- Sort caps by color and size — teaching sorting skills equals recycling basics.
- Sketch a simple design on the board (sun, tree, heart).
- Glue caps into the sketch. Work in small sections so glue doesn’t dry before placement.
- Add painted details between caps for definition.
- Seal if you want it durable, then display on a wall or shelf.
Variations: Make coasters by gluing caps into round silicone molds, or create a framed nameplate for a bedroom door. Older kids can plan color gradients and learn patience.
Craft 2: Tin Can Planters — From cans to curb appeal
Materials
- Clean, label-free tin cans
- Acrylic paint, washi tape, or contact paper
- Potting soil and small plants or seeds
- Hammer and nail for drainage (adult tool use)
- Optional: ribbon or twine for hanging
Steps
- Let kids paint and decorate cans. Encourage themes—garden monsters, polka dots, or stripes.
- Adults punch small drainage holes in the bottom.
- Fill with soil and plant seeds or succulents.
- Label each planter with a recycled paper flag for plant names.
- Place them on windowsills, porches, or give as gifts.
Teaching moment: explain why drainage matters and how plants help the planet. Older kids can research which plants are best for indoor air quality.
Craft 3: Magazine Beads — Jewelry that tells a story
Materials
- Old magazines, colorful paper, or maps
- Glue stick or white glue
- Toothpicks and a dowel for rolling
- String or elastic
- Clear varnish (optional)
Steps
- Cut strips of paper (triangles or long tapered pieces).
- Brush glue along the strip and roll tightly on a toothpick.
- Seal with a bit of glue or varnish once dry.
- String beads into necklaces, bracelets, or bookmarks.
Variation: Make a matching set as a gift, or host a ‘jewelry swap’ to reinforce reuse. This craft is calming and great for fine motor skills.
Craft 4: Cardboard Puppet Theater — Storytime from the recycling bin
Materials
- Large cardboard box (TV or appliance box works well)
- Scissors or box cutter (adult use the cutter)
- Paint, fabric scraps, and glue
- Popsicle sticks or wooden spoons for puppets
- Markers for decorating
Steps
- Cut an opening for the stage and fold flaps into curtains.
- Paint the outside and interior stage backdrop.
- Create puppets from socks, paper bags, or spools and decorate.
- Put on short shows that teach a recycling-themed story.
Performance tip: let the kids write a 1–2 minute script where characters solve a recycling problem. Role-play reinforces understanding and confidence.
Safety, setup, and teaching tips
Set up a craft station with bins labeled: Keep, Reuse for Crafts, Recycle, Trash. This models the sorting process and reduces the ‘where does this go?’ chaos. Always supervise scissors, hot glue, and small parts.
Keep explanations short. Use questions instead of lectures: “What could this yogurt cup become?” Let answers come from children. They often surprise you with creativity and an alarming number of pirate ship ideas.
Ways to keep it meaningful after the craft
Display creations proudly. Rotate them regularly so each project feels important. If something is truly useless, turn it into a ‘goodbye ceremony’—a short ritual where you thank the item for its service before recycling it. This helps kids accept letting go.
Use crafts as springboards: take a mini field trip to a recycling center or have a neighborhood swap day. The practical follow-up cements the lesson: recycling isn’t just a craft, it’s a habit.
Quick craft kit checklist (prep for success)
- Scissors, glue, markers, paints
- Containers for sorted recyclables
- Small aprons or old shirts for painting
- A camera or phone to document projects
- Labels and a marker for naming things
Prep saves time. If you’re short on time, assemble a ‘recycling craft kit’: a zip bag with beads, caps, string, and a mini glue stick. Keep it accessible so spontaneous creativity wins over screen time.
Final nudge: make it normal, not perfect
The goal here isn’t to produce Pinterest-perfect decor. It’s to build joyful rituals that normalize reuse. If a craft ends up in the bin after a day, that’s okay — you still practiced decision-making and gave something a chance at life. Celebrate the effort more than the outcome.
Now grab a pile of recyclables, set a timer for 30–45 minutes, and make something that would make the planet smile. Your kid will remember the gluey hands and laughter long after they forget exactly what a cardboard dragon was for.
FAQs
What age is best for crafts to teach recycling?
Start as young as 2–3 with supervised, sensory-friendly activities like sorting and sticking. Ages 4–8 can handle simple cutting and gluing; 9–12 can plan and execute more complex projects. Tailor tools and supervision to the child’s skill level.
How do I prepare recyclables safely for crafts?
Wash containers and remove sharp edges or foil seals. Flatten cardboard and remove staples. For metal cans, adult-prep the rim with pliers or cover edges with tape. Keep small choking hazards away from toddlers.
Can these crafts actually reduce household waste?
Yes — especially when projects become useful items (planters, storage, gifts) or when you build habits like sorting and reusing. Even if not every craft is permanent, the mindset shift reduces single-use thinking over time.
How do I talk about recycling without lecturing?
Ask open questions, use playful metaphors (‘this bottle is going to get a new job’), and focus on action: sort, reuse, create. Celebrate attempts and curiosity more than perfect answers.