If you've ever stared into your pantry wondering what on earth to do with a rainy Saturday and a bored kid, here's a secret: the answer is probably already in your cabinet, sitting quietly next to the coffee maker. Coffee filters are, hands down, one of the most underrated craft supplies a parent can own — cheap, endlessly absorbent, and nearly impossible to mess up too badly. No Pinterest-perfect skills required; the filters basically do the pretty part for you.
This guide covers:
- Why coffee filters are secretly perfect for kids' crafts
- What basic supplies you'll need
- 10 easy, colorful project ideas
- Tips for keeping the mess (mostly) contained
- Which projects work best by age, and where adults should stay hands-on
- Simple ways to display or store the finished crafts
Why Coffee Filters Are a Craft-Drawer Must-Have
Coffee filters are basically nature's blank canvas. They're made of thin, super-absorbent paper that soaks up liquid watercolor or diluted washable marker ink and spreads it into gorgeous, tie-dye-like patterns — no artistic skill required, and every single one turns out looking intentional. They're round (or fan-folded, depending on your brand), which gives you a head start on flowers, butterflies, and anything else with natural symmetry. And because a whole pack costs about as much as a drive-through coffee, nobody has to be precious about wasting one — which makes it a low-stakes project when a child wants to "just try again" a few times.
What You'll Need
Most of these projects use the same small pile of supplies, so you can set up once and work through several ideas in an afternoon:
- Basket-style coffee filters (the flat, round kind works best)
- Washable markers or liquid watercolors
- A spray bottle or eyedropper filled with water
- Scissors, a stapler, and clear tape
- Pipe cleaners, googly eyes, glue, and clothespins for details
- A tray or old cookie sheet to catch drips
10 Coffee Filter Craft Ideas
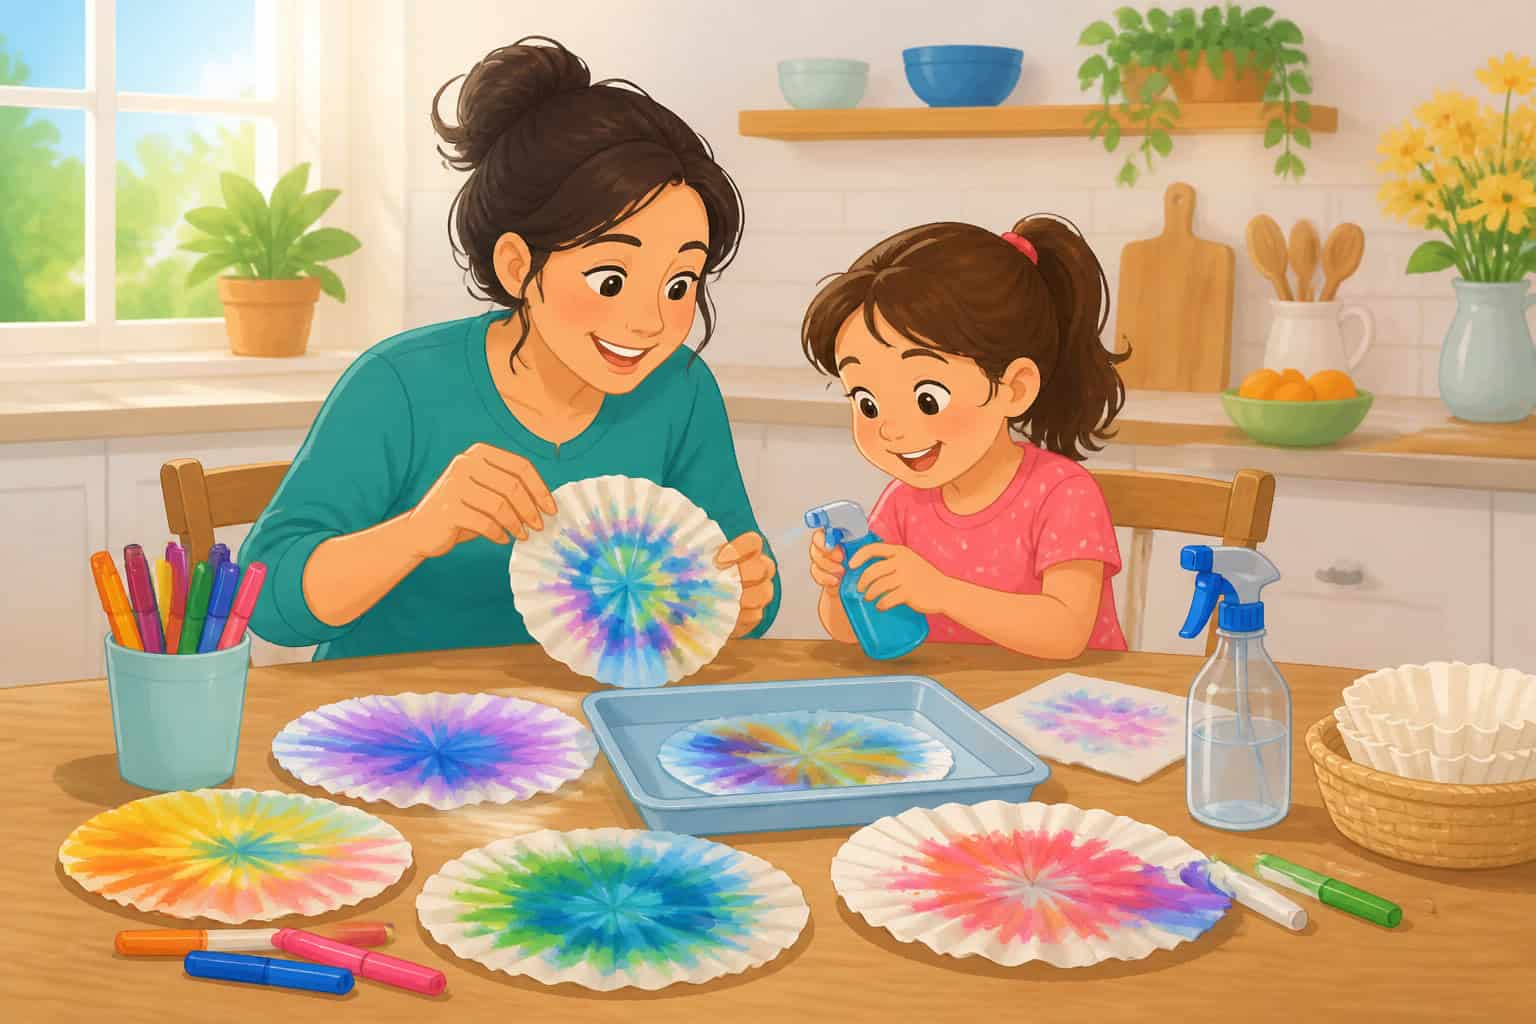
Color your filters first (marker works, watercolor works better), then give them a light spritz of water and let the colors bloom and blend — this is often the part kids enjoy most. Dry flat for 15–20 minutes before shaping, then pick a project, or work through the whole list over a couple of sittings.
1. Coffee Filter Butterflies
Color a filter, let it dry, then scrunch it in the middle and secure with a pipe cleaner twisted into antennae. Fan out the wings and you've got an instant butterfly — tape on a magnet for fridge-worthy decor, or add a string to hang a whole flutter of them from the ceiling.
2. Coffee Filter Flowers
Stack two or three colored filters, pinch the center, and staple or tie with a pipe cleaner "stem." Fan out each layer of petals for a full, ruffled bloom that looks great taped to a window or gathered into a paper-cup "vase" for a homemade bouquet.
3. Coffee Filter Sun Catchers
No heat needed for this one — a colored, dried filter is already translucent enough to glow beautifully when taped straight onto a sunny window. For a sturdier version, brush both sides lightly with a mix of equal parts school glue and water, then let it dry flat for about an hour before hanging; this stiffens the filter without needing an iron or any heat source.
4. Coffee Filter Jellyfish
Color a filter, let it dry, then gather it into a dome shape with a stapled loop of thread at the top for hanging. Glue on curling-ribbon "tentacles" underneath and watch it drift when the air conditioning kicks on — a whole cluster hung together makes a fun under-the-sea corner.
5. Coffee Filter Fireworks
Fold a dry filter into a tight fan and dip just the tips in liquid watercolor before unfolding — the color bursts outward in a starburst pattern, perfect for a Fourth of July craft table or a New Year's Eve countdown activity.
6. Coffee Filter Wreaths
Fold several colored filters into cones, glue them cut-side-in around a paper plate ring, and you've got a full, textured wreath kids can proudly hang on their bedroom door. Swap colors by season — pastels for spring, reds and greens for winter.
7. Coffee Filter Ghosts
Skip the coloring step for this one — stuff a plain white filter with a cotton ball, gather it at the "neck" with string, and add two dot eyes with a marker for a sweet, no-mess Halloween craft that comes together in just a couple of minutes.
8. Coffee Filter Rainbows
Color arcs of red, orange, yellow, green, blue, and purple onto a single filter with markers, then spritz lightly with water and let the colors bleed into a soft rainbow gradient. Trim into an arch shape once dry and pair with a cotton-ball cloud on each end.
9. Coffee Filter Fish
Color a filter, fold it in half, and trim into a rounded fish shape, leaving the fold as the fish's back. Add a googly eye and a few marker scales for an under-the-sea craft that comes together in minutes — great for a whole "school" of fish taped along a hallway.
10. Coffee Filter Peacocks
Fan-fold three or four colored filters and glue the folded ends together in a spread. Attach to a simple paper body cutout, then add a scrap-paper head and a few marker "eyes" on the feathers for a showstopping display piece worth a spot on the mantel.
Tips for Mess-Free Crafting
Coffee filter crafts are about as low-mess as art projects get, but "low-mess" and "no-mess" are different things when water and washable ink are involved. A few small habits go a long way:
- Use washable markers instead of liquid watercolor if you want less mess and more control
- Work on a tray or cookie sheet so wet filters don't stick to the table
- Let colored filters dry completely before folding or stapling — wet paper tears easily
- Keep a stack of paper towels within arm's reach at all times
- Have kids wear an old T-shirt or smock — washable ink still stains fabric
Age-Appropriate Variations
For toddlers, stick to the simplest projects — flowers and ghosts need the least fine-motor precision, and coloring with markers is satisfying all on its own even before any shaping happens. Expect a lot of the fun to be in the process, not the finished product, and that's completely fine. School-age kids can usually handle scissors, staplers, and multi-step projects like the wreath or peacock, and older kids might enjoy planning a whole "coffee filter garden" or mobile that combines several projects at once.
Regardless of age, any step involving scissors, a stapler, or small parts like googly eyes and pipe-cleaner ends should be adult-supervised, and handled entirely by an adult for toddlers and younger preschoolers. Small parts are also a choking hazard for children who still put things in their mouths, so keep an eye on loose googly eyes and pipe cleaner tips around that age group.
Storage and Display Ideas
Once you've got a small pile of finished crafts, it's worth having a plan before they end up crumpled in a backpack. A length of twine strung across a bedroom wall makes an easy garland for butterflies, flowers, or fireworks — just clip each one on with a mini clothespin so the display can rotate as new crafts get made. Flatter pieces like sun catchers and rainbows do well taped directly to a window, where the light shows off the colors best. And if you're not ready to commit to permanent decor, a simple accordion folder or a flat box lid keeps finished filters from crushing until you decide what to do with them.
FAQs
Do I need special coffee filters for these crafts?
No — regular basket-style coffee filters from the grocery store work perfectly. The flat, round ones are easiest for beginners, but cone-shaped filters work too; they just fold a little differently.
Can I use markers instead of liquid watercolor?
Yes, and it's actually the easier option for younger kids. Color directly on the dry filter with washable markers, then lightly spritz with water from a spray bottle to let the colors bloom and blend.
How do I dry the filters without them wrinkling?
Lay them flat on a paper towel or drying rack rather than hanging them, and resist the urge to speed things up with a hair dryer — a gentle 15–20 minute air-dry keeps them from curling or tearing.
What age range is best for coffee filter crafts?
These work well from about age 2 through the early elementary years. Toddlers can handle coloring and simple shaping under adult supervision, while kids around 5 and up can manage scissors, staplers, and multi-piece projects with less hands-on help — though small parts still warrant supervision at any age.
Can these crafts be part of a bigger project?
Absolutely — string several butterflies or flowers into a garland, glue a handful of fish onto blue paper for an ocean scene, or combine a few ideas into a spring-themed bulletin board display.