If you’ve ever promised your kid a “fun Halloween craft” and ended up with glitter in your hair and paint on the ceiling, you are my people. These Halloween art ideas for kids are designed to be adorable, creative, and — dare I say — mostly sane for the grown-up in the room.
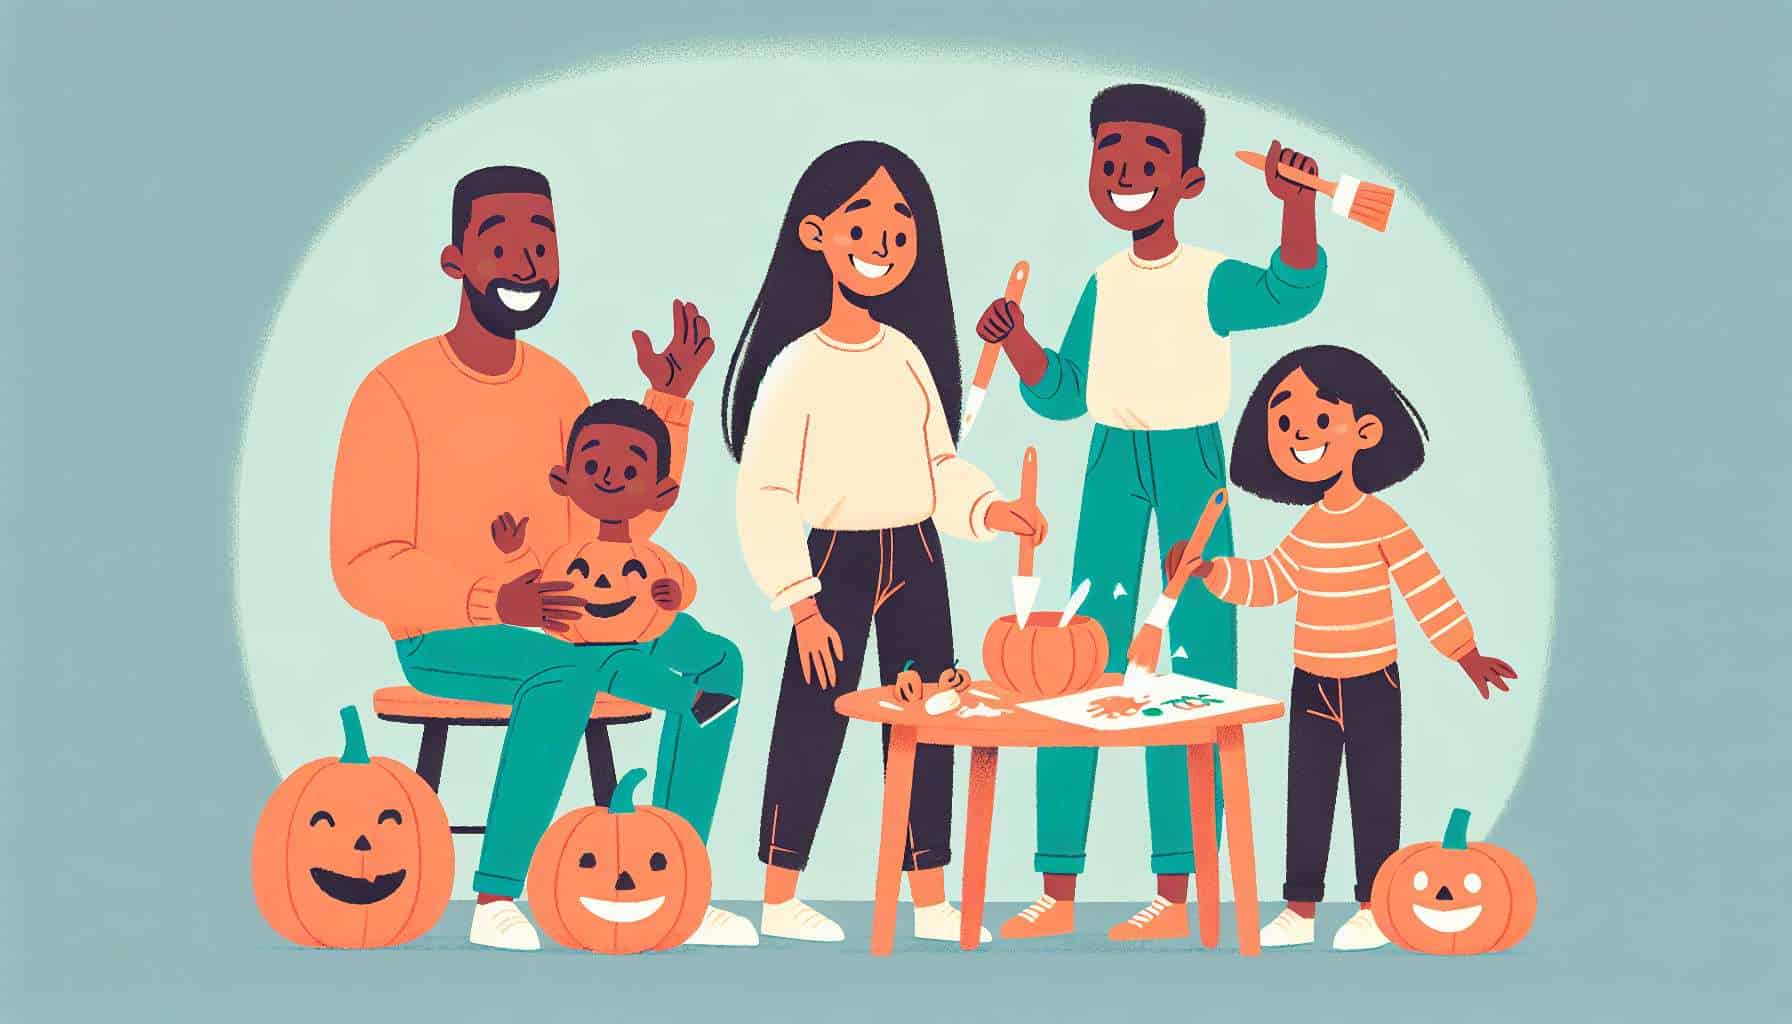
Confession: sometimes we skip the ‘perfect’ AI images and just can’t resist picking the most awkward ones. Hopefully they bring a smile to your face too!
Also try: Fun Easter Egg Hunt Ideas for Busy Parents
- This guide covers simple projects, step-by-step instructions, and supply lists.
- You’ll get variations for toddlers, early elementary, and tweens.
- Plus tips for easy setup, cleanup, and turning one craft into three.
Why these Halloween art ideas for kids actually work
Short attention spans, sticky fingers, and a total aversion to prolonged house cleanup shaped these projects. I picked activities that meet three parent-approved rules: minimal expensive supplies, clear steps so kids can craft confidently, and cleanup that doesn’t require a hazmat suit.
You’ll find projects you can do in 10 minutes (quick wins), 30–45 minutes (satisfying but manageable), and longer projects that make great gifts or decorations. Each project includes easy variations so you can scale complexity up or down.
Starter supplies — what to have on hand
You don’t need a craft store’s worth of junk. A few staples cover almost everything.
- Construction paper (black, orange, white) and cardstock
- Washable tempera or acrylic paint and brushes
- Glue sticks, white glue, and double-sided tape
- Googly eyes, pipe cleaners, pom-poms, and safety scissors
- Basic recyclables: paper plates, egg cartons, toilet-paper rolls
Quick, no-fuss Halloween art ideas for kids
Tissue-Paper Ghosts (ages 3+)
Why it works: soft, sensory, and zero mess from paint. Great for toddlers practicing tearing and gluing.
- Materials: white tissue paper, black construction paper, glue stick, cotton balls optional
- Step 1: Cut a ghost-shaped body from black paper (adult job for littles).
- Step 2: Kids wad small tissue paper pieces and glue them onto the ghost to create texture.
- Step 3: Add googly eyes or draw eyes with marker.
Variations: Use colored tissue to make disco ghosts; tape them to windows for a spooky stained-glass effect.
Pumpkin Plate Prints (ages 4+)
Fast, bold, and perfect for group activities. Paper plates become pumpkins with paint and creativity.
- Materials: paper plates, orange paint, brown construction paper, green pipe cleaners
- Step 1: Paint the plate orange and let dry.
- Step 2: Cut a small rectangle of brown paper for the stem and glue on top.
- Step 3: Twist a pipe cleaner into a vine and attach; decorate faces with markers or paint.
Variation: Turn into a pumpkin family by using different plate sizes and letting older kids carve expressive faces with scissors.
Spider Web String Art (ages 6+ with supervision)
A slightly fiddly project that teaches planning and patience — great for calm afternoons or rainy-day activities.
- Materials: black cardstock, white acrylic paint in a squeeze bottle or white glue mixed with paint, toothpicks
- Step 1: Draw a few anchor points for the web on the cardstock.
- Step 2: Use the squeeze bottle to connect the points with radiating lines.
- Step 3: Add zig-zag concentric webs between radiating lines using a toothpick or fine brush.
- Tip: Dry time is longer — set the art aside in a safe spot to cure.
Variation: Add a small plastic spider or let kids sprinkle glitter over wet glue for a glamorous web.
Step-by-step project: Glow-in-the-dark Halloween Jars
This is a crowd-pleaser for trick-or-treat evenings or a spooky bedroom nightlight. It’s tactile, glowy, and doubles as decor.
- Materials: clean glass jars (baby food or mason), glow-in-the-dark paint or glow sticks, tissue or translucent paper, black construction paper for silhouettes
- Step 1: If using paint, let kids brush the inside of the jar with glow paint. If using glow sticks, crack and pour carefully (adult only).
- Step 2: Tear or cut tissue into strips and press to the inside walls for color diffusion.
- Step 3: Cut silhouettes (bats, cats, witches) from black paper and glue to the outside or inside.
- Step 4: Charge under bright light and enjoy the glow.
Variations: Use battery tealights instead of glow materials for a reusable option. Older kids can paint layered scenes on the jars.
Make it a learning moment: art with tiny lessons
Every craft can sneak in a little learning without feeling like school. Try these quick teaching ideas as you work.
- Counting: Count shapes while cutting or count googly eyes on a monster.
- Color mixing: Show how orange is red plus yellow when painting pumpkins.
- Fine motor: Tearing tissue and threading pipe cleaners improve dexterity.
Adaptations by age: toddlers to tweens
Not every project fits every kid. Here’s how to tweak these Halloween art ideas for kids depending on age and skill.
Toddlers (2–4)
Keep it sensory and short. Focus on tearing, sticking, and puddles of washable paint. Use large tools and supervise scissors closely.
Elementary (5–8)
Let them follow simple step sequences and try cutting shapes. Encourage personal touches and storytelling about their creations.
Tweens (9–12)
Offer layered techniques: stenciling, watercolor backgrounds, or mixed-media collages. Give them autonomy and a few challenging materials.
Tips for setup, control, and cleanup (yes, you can do it)
Preparation is 80% of parental survival during crafts. Spend five minutes to save thirty of regret.
- Prep station: use a baking sheet or cheap shower curtain as a craft mat.
- Containment: keep paints in muffin tins for small portions.
- Drying rack: string twine across a doorway to clip wet pieces with clothespins.
- Easy cleanup: baby wipes, a damp towel, and a designated ‘splash zone’ for kids’ hands.
Display and gift ideas
Crafts become more exciting when they have a purpose. Display them proudly — it boosts kids’ confidence and keeps fridge clutter interesting.
- Create a seasonal gallery wall with washi tape or clipboards.
- Package small crafts as gifts for grandparents — add a handwritten note from the child.
- Turn art into greeting cards or place settings for Halloween dinner.
Final thoughts: keep it playful
Halloween art ideas for kids don’t need to be Pinterest-perfect. The goal is fun, a little spooky, and a lot of family memory-making. If something goes sideways, laugh, take a photo, and remember you’re teaching creativity — not manufacturing a museum piece.
Ready to make some bats, ghosts, and glow jars? Gather your supplies, enlist willing helpers (siblings count), and let the creative chaos begin.
FAQs
What are some easy Halloween art ideas for kids under 5?
Try tissue-paper ghosts, pumpkin plate prints, or sticker collages. Keep projects short (10–15 minutes), use washable supplies, and do cutting or anything sharp yourself.
How can I make Halloween crafts less messy?
Use glue sticks instead of liquid glue, put paint in muffin tins for portion control, cover surfaces with a shower curtain, and give each child a craft tray to contain bits.
What materials should I buy for a Halloween craft kit?
Stock up on construction paper, washable paint, glue sticks, googly eyes, pipe cleaners, pom-poms, safety scissors, and a handful of recycled jars or plates. These cover most Halloween art projects for kids.
How do I adapt a Halloween art project for older kids?
Introduce layered techniques like stenciling, mixed media, or sketching outlines first. Offer more challenging tools (x-acto for supervised tweens, fine brushes) and let them design their own twist on the theme.