DIY Party Decorations on a Budget
You don’t need to hire a stylist or empty your vacation fund to create a party that looks intentional and joyful. With a little planning, recycled supplies, and a steady cup of coffee (or wine — I don’t judge), you can make the kind of decorations that make guests say, “Wow,” while you quietly whisper to yourself, “It only cost five bucks.”

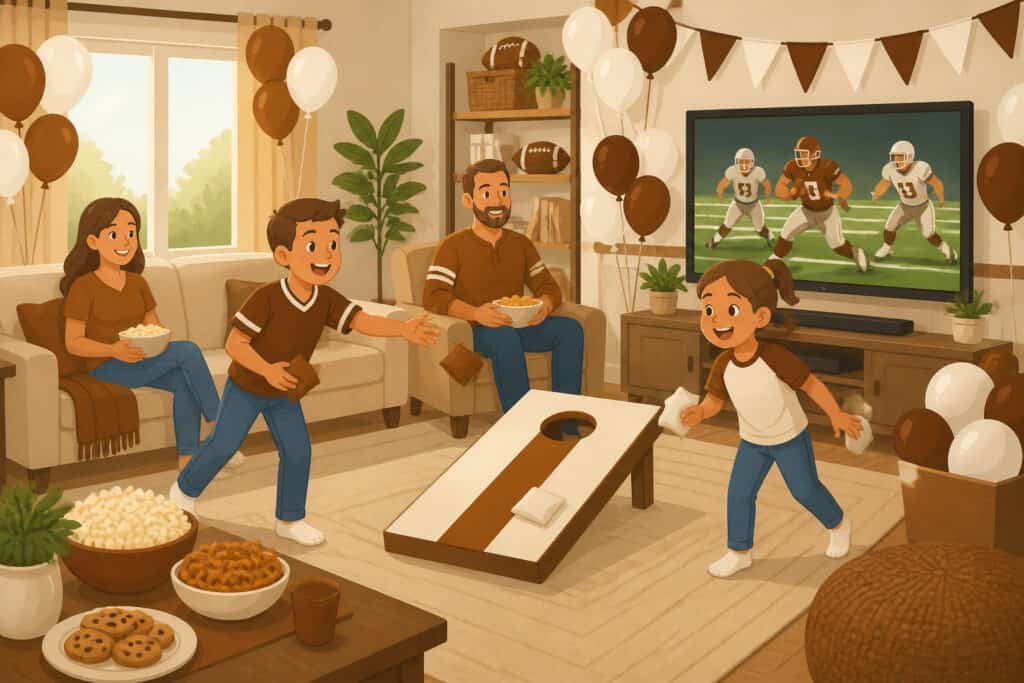
Confession: sometimes we skip the ‘perfect’ AI images and just can’t resist picking the most awkward ones. Hopefully they bring a smile to your face too!
- This guide covers… quick planning, essential supplies, easy projects, and storage tips
- Step-by-step banner and balloon hacks you can finish in an hour
- Table styling, lighting tricks, and kid-friendly safety tips
Plan like a pro (but cheap)
Start with a tiny bit of strategy so you don’t end up buying glitter for a theme you forget five minutes later. A 15-minute plan saves time and money every time.
- Decide the vibe: cozy picnic, rainbow chaos, sparkly movie night, or minimalist chic.
- Pick 3 focal points: entry, dessert table, and photo spot. Concentrate decorations there.
- Set a clear, low budget and let it guide material choices.
Realistic budgeting (yes, you can stick to it)
Assign amounts: $10 for focal decor, $15 for tableware, $10 for lighting, $5 for one splurge. Keep receipts in a phone photo album so you know what worked.
Essential supplies to stock (the cheap toolkit)
- Scissors, craft knife, glue gun (and extra sticks), clear tape
- String, baker’s twine, ribbon scraps, clothespins
- Colored cardstock, tissue paper, kraft paper rolls
- Cheap LED fairy lights and battery packs
- Reusable vases/containers, cloth napkins, plain kraft tags
Simple DIY decorations that look expensive
The trick to making cheap materials sing is contrast: mix a luxe element (like a wooden tray or metallic paint) with inexpensive basics (paper and twine). A little texture and a coherent palette make everything look curated.
Paper garlands and banners — step-by-step
Banners are the easiest statement piece. You can make one in 20–40 minutes and adapt it for any theme.
- Cut cardstock into triangles or circles — use a cereal box as a pattern.
- Paint or stamp letters with cheap acrylic paint or alphabet stamps.
- Punch two small holes at the top of each shape and thread with twine.
- Add tassels from tissue paper every few flags for movement.
- Hang over the dessert table or across a doorway using command hooks.
Tissue-pom bouquets (fast, fluffy impact)
Tissue poms look fancy and are almost free. Stack 6–8 sheets, accordion-fold, tie center with wire, round edges, and fluff. Combine sizes and suspend from the ceiling for instant whimsy.
Balloon hacks that don’t cost a fortune
Balloons are cheap, but helium isn’t. Use smart anchoring and layering for a luxe effect without helium.
- Create a balloon garland on fishing line. Use different sizes and tuck greenery or paper flowers between balloons.
- Anchor balloons with small bags of rice tied with ribbon — easy, weighted, and reusable.
- Add a single metallic balloon or mylar number to give the whole arrangement a lift.
Centerpieces and table styling
You don’t need expensive floral arrangements. Use what you have plus one or two inexpensive upgrades.
- Group mismatched jars and bottles on a tray. Fill with a single stem from a supermarket bouquet or clipped greenery.
- Use stacked books or cake stands to create levels and visual interest.
- Make mini party favors that double as decor—small cookies in clear bags tied with ribbon.
Plates, napkins, and labels
Paper plates can still look planned. Choose one accent pattern and match it to plain solids. Use kraft tags for food labels — write with a metallic pen for polish.
Lighting, signage, and finishing touches
Good lighting makes cheap decor feel intentional. Small investments here go a long way.
- String battery-operated fairy lights through vases or around signage.
- Use clip-on LED lamps to spotlight a dessert table.
- Make a simple marquee-look sign by painting cardboard and outlining letters with metallic pens.
Photo backdrop on the cheap
Create a backdrop with a sheet of kraft paper, painted stripes, and layered tissue poms. Anchor with tape on a wall (test first) or a tension rod between two chairs.
Kid-friendly ideas and safety
If kids will be involved (or dismantling everything in five minutes), keep safety and durability in mind. Soft edges, secure attachments, and no small choking parts are the rule.
- Avoid loose glitter around toddlers — use metallic cardstock instead.
- Secure hanging decor with strong knots or command hooks to prevent falling.
- Keep candles out of reach; opt for LED candles for the same glow without worry.
Save time, save money — timeline and shopping strategy
Timing your projects keeps stress down. Spread the work over a few days so you don’t end up crumpling tissue paper at 2 a.m.
- 2–3 weeks before: pick theme, make list of focal points, buy non-perishables.
- 3–4 days before: assemble banners, poms, and table labels.
- Day before: set up larger pieces, test lighting, refrigerate desserts.
- Event morning: fresh flowers, inflate balloons, final touch-ups.
Pack, store, reuse — after-party life
The best part about DIY decorations is reuse. Store materials in labeled boxes so next time you can skip shopping and jump to decorating.
- Fold and store paper poms flat in a shallow box.
- Keep a ‘party kit’ with fairy lights, twine, battery packs, and a roll of kraft paper.
- Snap photos of your setups so you can recreate what worked.
Final checklist before guests arrive
- Lights tested and batteries fresh
- Secure hanging points checked
- Tablecloths and plates aligned with centerpiece
- Music ready, camera charged, and adult beverage nearby
FAQs
How can I make DIY Party Decorations on a Budget look professional?
Pick a simple color palette (2–3 colors), focus on three focal points, and combine an inexpensive element (paper) with one luxe detail (metallic accents or greenery). Keep edges clean and use matching labels for cohesion.
What are the cheapest materials for DIY party decorations?
Tissue paper, cardstock, kraft paper, twine, mason jars, and battery-operated fairy lights give the biggest visual bang for very little money.
How far ahead should I make decorations like banners and poms?
Make non-perishables 3–7 days ahead. Do any inflating or floral arranging the day before, and finish quick setup and safety checks on the morning of the event.
Can I do kid-friendly party decorations on a budget that are safe?
Yes. Use LED candles, avoid loose glitter, secure hanging items with proper hooks, and keep small or sharp items out of reach. Choose washable materials when possible.